Working from home doesn’t always mean having a sprawling corner office with built-in shelving and crown molding. Most people are carving out workspace in bedrooms, closets, alcoves, or living areas where every square inch counts. A small desk isn’t a compromise, it’s a practical solution that forces intentional design. Done right, a compact workspace can be just as productive as a full-size setup, and often more organized because there’s no room for clutter to creep in. This guide walks through the features, types, and setups that make small desks work, plus a weekend build project for anyone ready to pick up a saw.
Table of Contents
ToggleKey Takeaways
- Small desks for home office work are practical solutions for modern workspaces, costing 30–40% less than traditional models while fitting into rentals, bedrooms, and multi-use rooms.
- Optimal depth for small desks is 22–24 inches to accommodate monitors and keyboards without ergonomic strain, with wall-mounted options eliminating floor footprint entirely.
- Proper installation into wall studs with 2.5-inch deck screws and heavy-duty brackets ensures small desks support 100+ pounds and prevent sagging over time.
- Vertical storage through pegboards, wall-mounted shelves, and monitor arms maximizes limited workspace and keeps desk surfaces organized with only essential items.
- Corner desks and fold-down variants claim unused space in apartments and guest rooms, while DIY floating desk projects can be completed in a weekend with basic tools and materials.
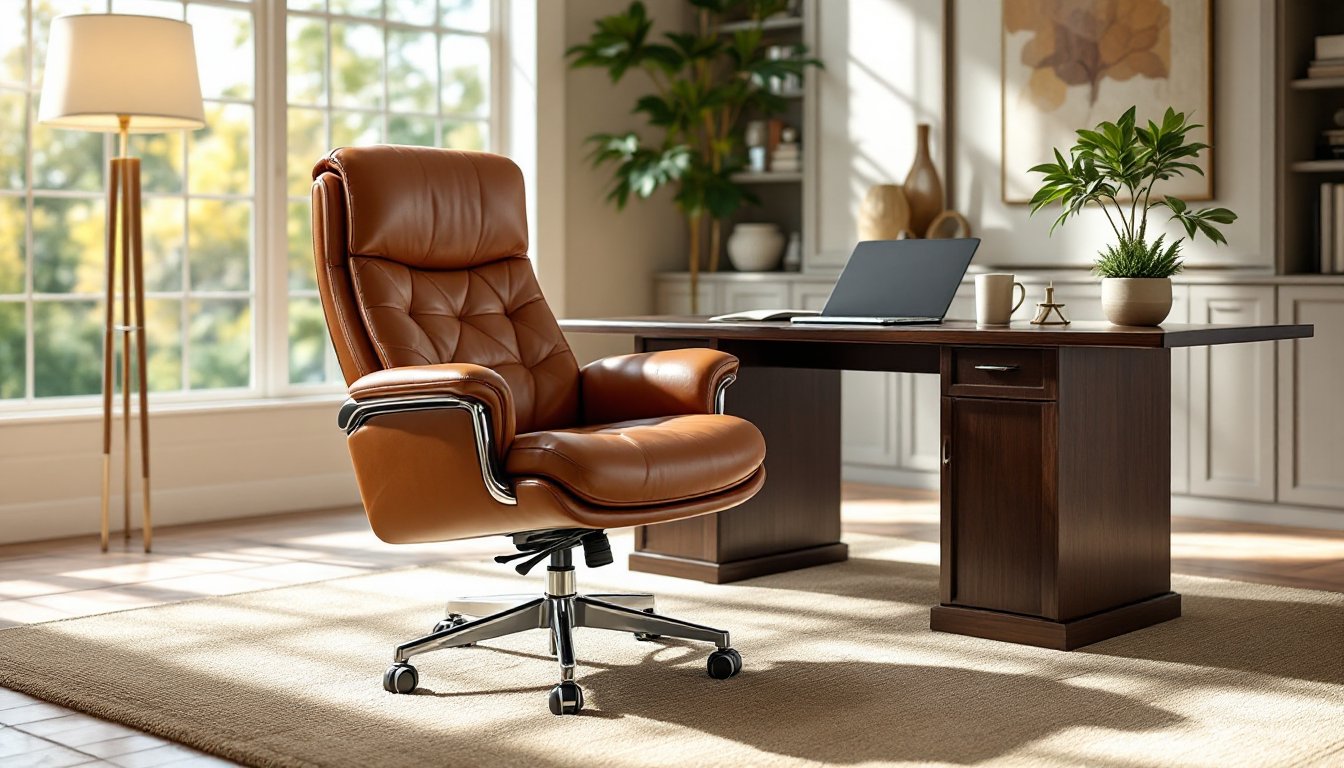
Why Small Desks Are Perfect for Modern Home Offices
Small desks solve spatial and financial constraints without sacrificing functionality. In 2026, the average rental footprint continues to shrink, especially in urban cores where home offices double as guest rooms or dining nooks. A 48-inch-wide desk fits into spaces where a traditional 60-inch model would block doorways or crowd furniture.
Compact footprints also reduce material costs. A solid hardwood desk at 36 inches wide costs 30–40% less than a 60-inch version in the same species, and the savings compound with shipping weight. For renters, smaller desks are easier to move up narrow stairwells and through apartment hallways without damaging trim or drywall.
Beyond logistics, small desks encourage workflow discipline. Limited surface area means only essential items stay on the desk, laptop, monitor, coffee cup. Peripheral gear gets wall-mounted or stored in vertical organizers. This constraint often leads to cleaner setups than sprawling workstations where paper piles grow unnoticed.
They’re also ideal for multi-use rooms. A wall-mounted fold-down desk disappears when not in use, letting a bedroom or living room reclaim its primary function. That flexibility matters when square footage is at a premium and zoning a dedicated office isn’t an option.
Key Features to Look for in a Compact Home Office Desk
Depth is the first measurement to scrutinize. Most small desks range from 18 to 24 inches deep. An 18-inch depth works for laptop-only setups, but a monitor and keyboard need at least 22 inches to avoid ergonomic strain. Measure your monitor’s base and add 4–6 inches for breathing room.
Surface material determines durability and maintenance. Solid wood (oak, maple, walnut) resists dents and can be refinished, but costs more. MDF with laminate or veneer keeps prices low and cleans easily, though edges chip if bumped. Butcher block adds warmth and can double as a cutting surface for craft projects, but requires periodic oiling to prevent cracking.
Leg design impacts both aesthetics and clearance. Hairpin legs and A-frame trestles leave floor space open, which helps small rooms feel less cramped. Avoid bulky pedestal bases unless they include drawers or filing, wasted volume under a desk is a missed storage opportunity.
Cable management matters more on small desks because visible wires dominate limited surface area. Look for grommets, rear channels, or clip-on trays. If the desk lacks built-in routing, adhesive cable raceways cost under $15 and take ten minutes to install.
Weight capacity is often overlooked. A flimsy desk sways when typing or leans on armrests. For traditional setups, look for 75+ pounds of static load capacity. Wall-mounted desks should anchor into studs with heavy-duty brackets rated for at least 100 pounds to support monitors and prevent sag over time.
Best Types of Small Desks for Different Spaces
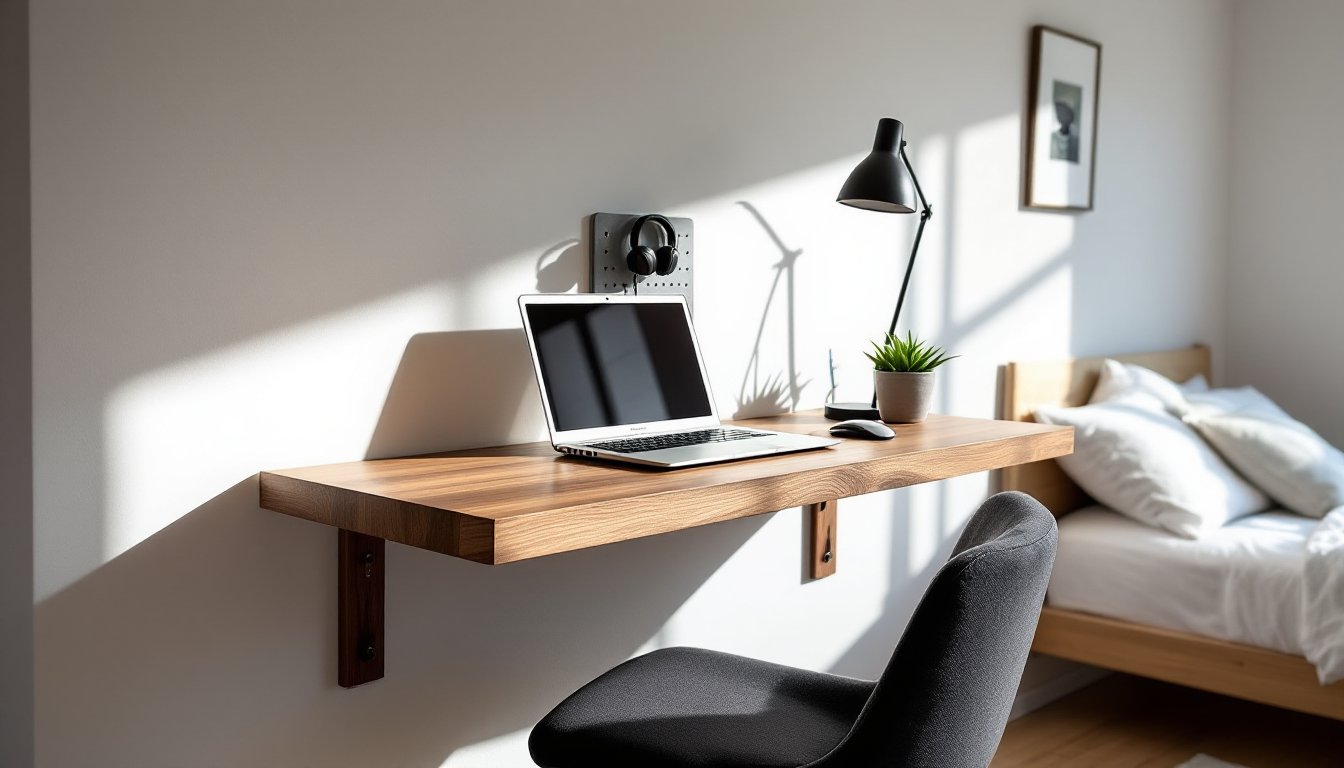
Wall-Mounted and Floating Desks
Wall-mounted desks eliminate floor footprint entirely. They attach directly to wall studs with L-brackets or French cleats, creating a cantilevered work surface. Depth typically ranges from 12 to 18 inches, enough for a laptop and notepad but not dual monitors.
Installation requires hitting studs spaced 16 inches on center (sometimes 24 inches in older homes). Use a stud finder, mark centers with a pencil, and predrill pilot holes to prevent splitting. Lag screws (¼-inch diameter minimum) or structural screws provide the shear strength needed for daily use. Drywall anchors alone won’t support a loaded desk, they’ll tear out under lateral force from typing or leaning.
Fold-down variations hinge at the wall and lock into place when needed. These are excellent for guest bedrooms or hallways where permanent desks would obstruct traffic. The hinge hardware must be rated for the desk’s weight plus anticipated load. Cheap piano hinges sag after a few months: invest in heavy-duty drop-leaf supports or gas struts.
Floating desks can also be shelf-style systems where brackets support a plank. A 1.5-inch-thick butcher block slab spanning 36 to 48 inches works well. Sand edges smooth, apply polyurethane or tung oil, and mount with locking shelf pins or keyhole brackets. This approach costs $60–$120 depending on wood species and lets you customize width to fit awkward alcoves.
Corner Desks for Maximizing Square Footage
Corner desks claim unused real estate where walls meet. An L-shaped configuration provides two work surfaces, one for a computer, the other for paperwork or crafts. Total footprint is compact, but usable surface area often exceeds a traditional rectangular desk.
The key dimension is the return depth, the secondary leg of the L. A shallow 18-inch return adds workspace without blocking walkways, while a full 24-inch return creates a true dual-zone setup. Measure corner clearance carefully: baseboards, heating vents, and outlets can interfere with flush placement.
Corner desks work especially well in rooms with awkward layouts, like small apartment corners where furniture placement is tricky. Position the desk so the chair’s swivel radius doesn’t hit the bed or doorframe. A 30-inch clearance behind the chair is minimum for comfortable movement.
Assembly usually involves connecting two separate surfaces with cam locks or bolts. Check that leg levelers are included, floors are rarely perfectly flat, and a wobbly desk compounds ergonomic issues. If the kit lacks levelers, threaded furniture glides cost a few dollars and thread into predrilled holes in the leg bottoms.
How to Style and Organize Your Small Desk Setup
Vertical space is your ally. Wall-mounted shelves, pegboards, and magnetic strips pull storage off the desk surface. A 24-inch pegboard panel above the desk holds headphones, charging cables, and small bins. Use metal hooks and accessory cups designed for pegboard holes (usually ¼-inch diameter spaced 1 inch apart).
Monitor arms free up desk real estate by clamping to the rear edge and suspending the screen. Most gas-spring arms adjust for height and tilt, improving ergonomics while reclaiming 12–18 inches of depth otherwise occupied by a monitor base. Ensure the desk thickness matches the clamp range (most fit ¾-inch to 2-inch tops).
Drawer organizers and desktop risers create layers. A simple laptop riser elevates the screen to eye level and tucks the keyboard underneath when not in use. Acrylic risers or hardwood platforms cost $20–$50 and add functional clearance.
Cable management starts with a power strip mounted under the desk with industrial-strength Velcro or screw clips. Route cables through adhesive channels or spiral wraps to prevent tangling. Label each cable with masking tape or printable tags, future troubleshooting gets easier when you know which cord powers what device.
Lighting deserves attention. A clip-on LED desk lamp saves surface space and provides task lighting without glare. Look for lamps with adjustable arms and color temperature controls (3000K warm for evening, 5000K daylight for focus work). Avoid placing lamps directly behind the monitor, which creates screen reflections.
Personal touches matter, but discipline is key. One small plant, a photo frame, or a designer desk accessory adds character without overwhelming limited space. If the desk surface gets crowded, move decorative items to the wall or a nearby shelf.
DIY Small Desk Ideas You Can Build This Weekend
Building a simple desk requires basic tools and materials available at any home center. This project creates a wall-mounted desk with a floating appearance, ideal for tight spaces.
Materials:
- One ¾-inch plywood sheet, cut to 42 × 20 inches (most home centers cut to size for free or a small fee)
- Two 2×4 cleats, cut to 36 inches (actual dimensions: 1.5 × 3.5 inches)
- Wood glue
- 2.5-inch deck screws (structural)
- 1.25-inch finish screws (for top attachment)
- Sandpaper (120-grit and 220-grit)
- Paint or stain (optional)
- Polyurethane or clear coat
Tools:
- Cordless drill
- Stud finder
- Level (24-inch or longer)
- Circular saw or handsaw (if cutting cleats yourself)
- Safety glasses and dust mask
Steps:
-
Locate wall studs in the installation area. Mark at least two studs spanning the desk width. For a 42-inch desk, you’ll likely catch three studs at standard 16-inch spacing.
-
Cut and sand the desktop. If edges are rough from the saw, sand with 120-grit paper, then smooth with 220-grit. Round over sharp corners slightly to prevent splintering.
-
Attach the rear cleat to the wall. Position one 2×4 flat against the wall at the desired desk height (typically 28–30 inches from the floor). Use a level to ensure it’s horizontal. Drill pilot holes through the 2×4 into each stud, then drive 2.5-inch deck screws. This cleat bears the desk’s weight, so don’t skip studs.
-
Attach the front support cleat to the desktop. Run a bead of wood glue along the back edge of the plywood underside. Position the second 2×4 flat, set back 1 inch from the front edge. Secure with 1.25-inch finish screws driven from the top, spaced every 8 inches. Countersink slightly and fill with wood putty if desired.
-
Mount the desktop. Lift the assembly and rest the front cleat on the wall-mounted cleat. The two 2×4s should nest together, creating a strong joint. Drive 2.5-inch screws at an angle through the front cleat into the wall cleat at each stud location to lock the desk in place.
-
Finish the surface. Apply paint, stain, or clear polyurethane depending on aesthetic preference. Two coats of poly protect against coffee rings and scratches. Let dry 24 hours before use.
This design supports 100+ pounds when properly anchored into studs. For a more polished look, add edge banding (iron-on veneer tape) to cover the plywood’s exposed edges before finishing.
If wall mounting isn’t an option, convert this into a standing desk by adding four 28-inch hairpin legs to the underside corners. Legs with ½-inch mounting plates attach with screws and require no special hardware.
For budget-friendly design ideas, consider using reclaimed wood or leftover boards from other projects. A salvaged door, cut down and sanded, makes an excellent desktop with built-in character. Just ensure the thickness is at least ¾-inch for stability, and check for nails or hardware before cutting.