A cluttered desk kills productivity faster than a slow computer. When filing cabinets hog floor space and books pile up on every flat surface, it’s time to look up, literally. Office wall shelves turn dead vertical space into functional storage, keeping essentials within arm’s reach while freeing up work surfaces. Whether building a home office from scratch or reclaiming an overwhelmed spare bedroom, the right shelving strategy makes the difference between a workspace that works and one that frustrates. This guide covers selection, installation, and styling so shelves actually serve the office instead of just decorating it.
Table of Contents
ToggleKey Takeaways
- Office wall shelves maximize vertical space to double or triple storage capacity without expanding your room’s footprint, making them ideal for small home offices and multi-purpose spaces.
- Floating shelves offer a minimalist aesthetic and work well for light to medium loads (15–30 pounds), while modular shelving systems provide flexibility to adapt as your office needs change over time.
- Choose the right office wall shelf depth and material based on what you’re storing—shallow 8-inch shelves for supplies, 10–12 inches for books and file boxes, and deeper 14–16 inch shelves for binders and portfolios.
- Always locate studs before installation and use structural screws or lag bolts into framing; drywall anchors fail on anything over 10 pounds, causing shelves to sag or pull out.
- Organize shelves by function with daily-use items at eye level, use labeled containers to prevent clutter, and maintain 70% capacity so shelves look intentional rather than overwhelmed.
Why Office Wall Shelves Are Essential for Modern Workspaces
Floor space costs money, whether in a downtown condo or a suburban split-level. Wall shelves reclaim vertical real estate that would otherwise go unused, doubling or tripling storage capacity without expanding the room’s footprint. That matters when a 10×10 spare bedroom needs to function as both office and guest room.
Beyond square footage, shelves improve workflow. Reference books, binders, and frequently used supplies stay visible and accessible instead of buried in drawers or stacked in corners. This cuts down on the constant shuffle of hunting for files or tools mid-task. A well-placed shelf above a desk keeps the monitor at eye level while storing daily-use items, staplers, charging cables, planners, in a predictable spot.
Wall-mounted storage also protects against water damage and pests. Cardboard boxes on basement office floors invite moisture problems and critter nests. Shelves mounted 6–12 inches off the ground keep materials dry and create airflow underneath, reducing mold risk in humid climates.
Finally, shelves force decision-making about what stays and what goes. Limited shelf space means choosing which items earn the real estate, cutting clutter before it accumulates. That organizational discipline carries over to digital files, email inboxes, and other workflow systems.
Types of Office Wall Shelves to Consider
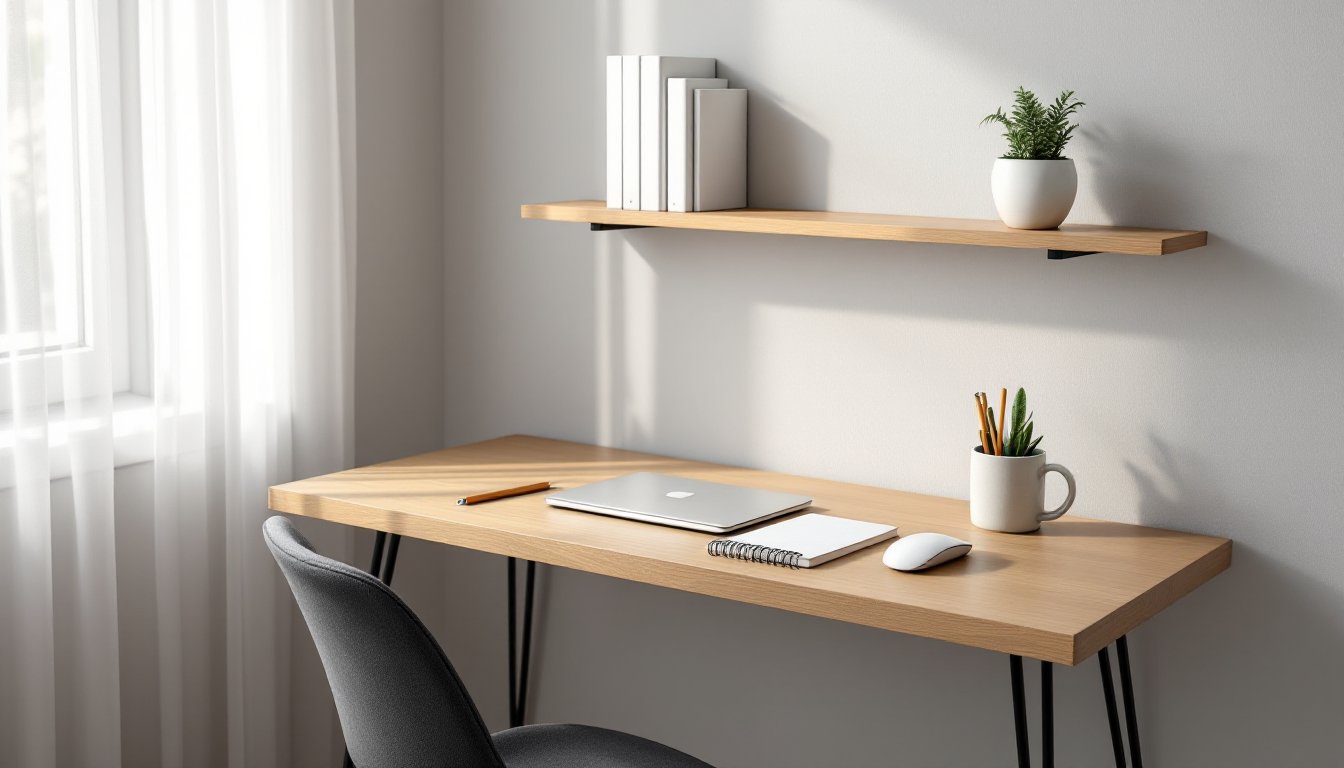
Floating Shelves for a Minimalist Look
Floating shelves hide mounting hardware inside the shelf itself, creating a clean, frameless appearance. A typical installation uses a cleat system: a metal or wood rail bolts into wall studs, and the hollow shelf slides over it. This design works well for light to medium loads, think paperbacks, small plants, and decorative bins, not hardcover legal encyclopedias.
Standard floating shelves span 24–48 inches and handle 15–30 pounds per shelf when properly anchored into studs. Exceeding that weight causes sagging or pullout, especially with particleboard cores. Solid wood or plywood-core shelves offer better load capacity but cost more. Many frameless open shelf bases use simple pocket-hole joinery, making them accessible DIY builds for beginners with basic tools.
Floating shelves shine in tight quarters. A 10-inch-deep shelf above a narrow desk doesn’t intrude on legroom or sightlines the way bracket-mounted shelves do. They’re also easier to clean around, no dust-collecting hardware or visible supports.
The downside: installation requires precision. If the cleat isn’t level or doesn’t hit studs, the shelf tilts or tears out under load. Hollow drywall anchors won’t cut it for anything heavier than a picture frame. Budget extra time for finding studs with a stud finder and pre-drilling pilot holes.
Modular Shelving Systems for Flexibility
Modular systems use adjustable tracks, brackets, or cubes that reconfigure as needs change. Standards-and-brackets setups, metal vertical tracks screwed into studs with movable shelf brackets, let users shift shelf heights in one-inch increments. This adaptability works well for offices that house both letter-size file boxes (12 inches tall) and oversized binders (14+ inches).
Cube systems, often made from laminated MDF or melamine, stack and interlock without tools. A 12×12-inch cube holds about 20–25 pounds: larger 15×15-inch versions handle 30–40 pounds. These work for renters or anyone who moves frequently, since they disassemble and reassemble without leaving wall damage.
For project-heavy offices, woodworking plans and tutorials often feature custom modular designs using dado joints (grooves cut into shelf sides for sliding shelves). This joinery creates stronger connections than dowels or cam locks, supporting heavier equipment like printers or laminators.
Modular systems cost more upfront than fixed shelves, but they avoid obsolescence. When a new scanner replaces an old one, or a standing desk changes desk height, adjustable shelves adapt instead of requiring reinstallation. Just confirm track ratings: cheaper systems max out at 50 pounds per linear foot, while heavy-duty versions handle 100+ pounds.
How to Choose the Right Wall Shelves for Your Office
Start with the load. Weigh what’s going on the shelf, literally. A bathroom scale works for boxes: a hanging luggage scale handles individual items. Add 25% for a safety margin. A 20-pound stack of binders needs shelving rated for at least 25 pounds.
Next, measure the wall and the gear. Standard wall studs sit 16 inches on center in most residential construction, though older homes sometimes use 24-inch spacing. Shelves wider than 36 inches should hit at least two studs for stability. Use a stud finder to map locations before buying anything.
Match depth to function. Shallow 8-inch shelves hold framed photos and small office supplies. 10–12 inches accommodates most books and standard file boxes. Deeper 14–16 inch shelves store three-ring binders spine-out or large format portfolios. Going deeper than 16 inches in a home office usually wastes space unless storing oversized equipment.
Material choice affects both cost and durability. Solid wood (pine, oak, maple) handles heavy loads and lasts decades but costs $30–$80 per linear foot depending on grade and region. Plywood with edge banding offers similar strength at $15–$40 per foot. MDF or particleboard with laminate keeps budgets low ($10–$25 per foot) but sags under sustained weight and doesn’t hold screws well if disassembled and moved.
Consider wall type. Drywall over studs is straightforward, lag screws or structural screws bite into framing. Plaster requires toggle bolts or Molly anchors if studs aren’t accessible, and drilling risks cracking old lath. Concrete or brick needs a hammer drill, masonry bits, and expansion anchors. Metal studs in modern condos call for self-tapping screws or snap toggles, not standard wood screws.
Finally, think about future access. Shelves above desks work great until cables, monitors, or desks need moving. Leave 18–24 inches between the desktop and the lowest shelf for headroom and flexibility.
Installation Tips for Sturdy and Secure Wall Shelves
Always wear safety glasses when drilling overhead, drywall dust and wood chips fall straight into eyes. A dust mask helps during prolonged drilling, especially into old plaster that may contain lead paint residue.
Start by locating studs. Knock along the wall: studs sound solid, cavities sound hollow. Confirm with a stud finder, marking centers with painter’s tape (it won’t damage paint like permanent marker). If the shelf layout doesn’t align with studs, use a French cleat, a 45-degree beveled board screwed into studs with a matching cleat on the shelf back. This distributes weight across multiple studs.
For bracket-mounted shelves, install the topmost bracket first, checking level with a 4-foot spirit level (a short level exaggerates errors). Mark remaining bracket holes, pre-drill with a bit slightly smaller than the screw shaft, then drive 3-inch structural screws or lag screws into studs. Skip drywall anchors for anything over 10 pounds, they pull out.
Floating shelves demand precision. Measure from the ceiling or floor to ensure consistent height across the wall. Drill pilot holes for the cleat, then attach with screws every 16 inches along studs. Test fit the shelf before final installation: if it’s tight, sand the inside channel lightly. A stuck shelf is harder to remove than to adjust beforehand.
For shelves in concrete or masonry, use a hammer drill with carbide-tipped masonry bits. Drill depth should match the anchor length plus 1/4 inch for dust. Tap in sleeve anchors or wedge anchors, then tighten until snug, overtightening cracks concrete. Various workshop guides and furniture plans detail anchor selection for different wall materials and load requirements.
Check level one last time after installation but before loading. An empty shelf might look level but tip once weighted. A bubble level placed on the front edge catches problems before books slide off.
If installing multiple shelves vertically, work top to bottom. This prevents the drill or screws from marring lower shelves. And get a helper for shelves over 4 feet long, one person can’t hold, level, and screw simultaneously without frustration.
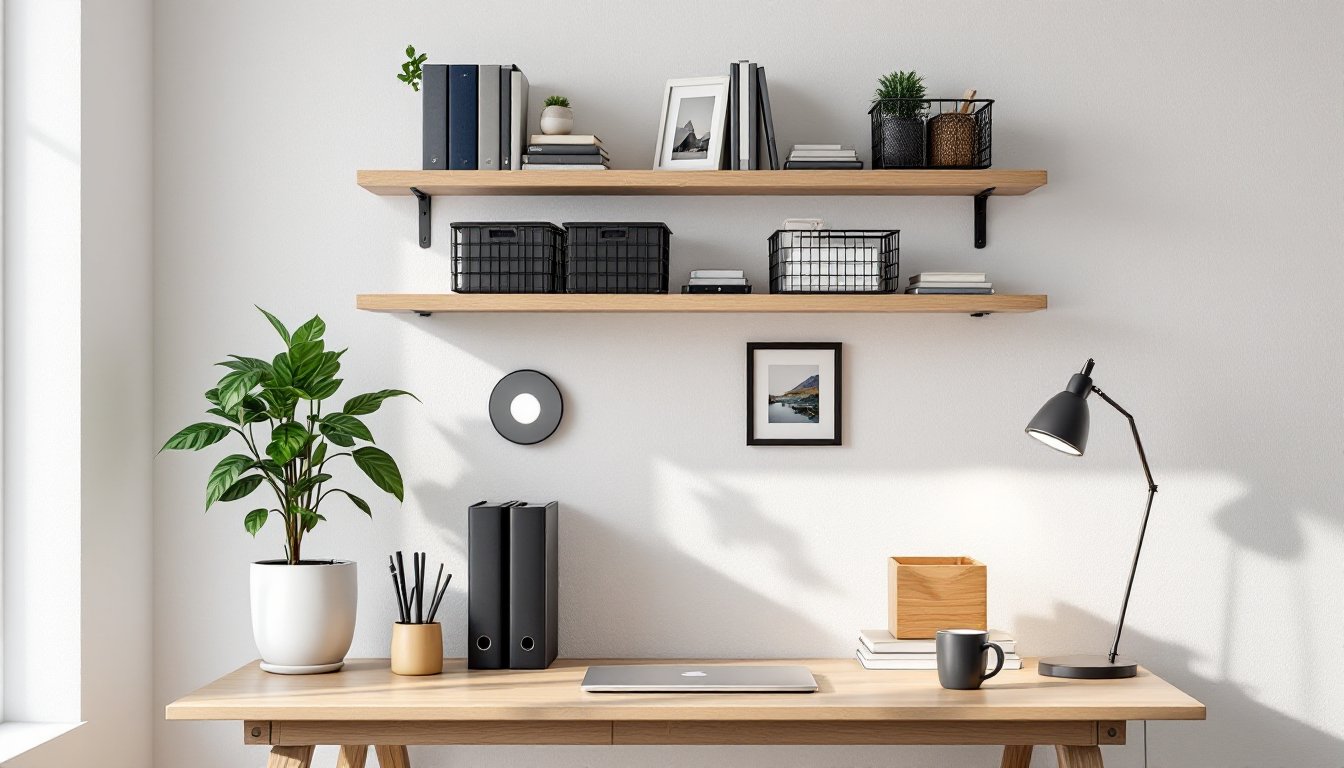
Creative Ways to Style Your Office Wall Shelves
Function beats form, but shelves don’t need to look like a warehouse. Start with zones. Group daily-use items, pens, notepads, charging cables, on the most accessible shelf, typically at seated eye level (40–48 inches from the floor). Archive reference materials or seasonal supplies higher up, where they’re visible but not in constant rotation.
Use containers to corral small items. Metal bins, wood trays, or fabric baskets keep paperclips, USB drives, and sticky notes from scattering. Label containers with a label maker or painter’s tape and Sharpie, this isn’t for looks, it’s so everything has a home and returns there.
Balance vertical and horizontal lines. Stacking books all spine-out creates visual monotony. Mix in a few books laid flat to break up the pattern, or use bookends to create negative space. That breathing room prevents the “overstuffed closet” look that makes offices feel cramped.
Incorporate non-work items sparingly. A small plant adds life without clutter, especially low-maintenance varieties like pothos or snake plants that tolerate inconsistent watering. A framed photo or a single piece of art personalizes the space without turning it into a gallery wall.
Consider lighting. Battery-operated LED puck lights or adhesive strip lights mounted under shelves illuminate work surfaces and make evening tasks easier. Warm white (2700–3000K) feels less clinical than cool white, and dimmable options adjust for video calls or focused work.
Avoid the temptation to fill every inch. Empty shelf space isn’t wasted, it’s visual relief and room for growth. A shelf at 70% capacity looks intentional. At 100%, it looks desperate.
Rotate displays seasonally if the office doubles as a visible space for clients or video calls. Swap out heavy tax binders for lighter project folders once April passes. Adjust what’s front-facing based on what’s actually in use, not what looked good six months ago.
Finally, audit every six months. If something hasn’t been touched in half a year, it probably doesn’t belong on prime shelf real estate. Archive it, donate it, or toss it. Shelves work best when they hold what’s needed, not what might be needed someday.